How to Compress Images Online Without Losing Quality (Free Guide)
Learn how to compress images online for free without losing quality. Pick the right format, resize smartly, and shrink JPG, PNG and WebP files in seconds.

i love tool box
Oct 7, 2026

You take a photo on your phone, try to attach it to an email, and get that annoying "file too large" message. Or maybe you uploaded a banner to your website and noticed the page suddenly crawls on mobile data. Sound familiar ?
Big images are one of the most common reasons uploads fail and websites feel slow. The good news is that you almost never need the full-size original. With the right approach you can shrink an image a lot and still have it look sharp on screen.
In this guide I'll explain how image compression actually works, which format to pick, and how to compress images online for free using the Compress Image tool from ilovetoolbox. No software, no sign-up.
Why image size matters more than you think
Modern phone cameras produce huge files. A single photo can easily be several megabytes even though the screen you'll view it on shows only a fraction of that detail. That extra weight causes real problems.
Websites load slower. Images are usually the heaviest part of a web page. When a visitor lands on a page full of oversized pictures the browser has to download all of it before the page feels ready. On a slow mobile connection, that wait can be long enough to make people leave.
Search rankings can suffer. Google looks at page experience, and one of its Core Web Vitals, Largest Contentful Paint, is often decided by the biggest image on the page. If that image is heavy, your score drops. Even if you don't care about scores, faster pages simply keep more visitors.
Uploads get rejected. Email providers, job portals, university admission forms and government websites often put a limit on file size. A photo that looks fine on your phone may be too big for the form.
Storage fills up. Hundreds of uncompressed photos eat into your phone, your cloud plan or your hosting space.
Compressing images solves all of this in a few seconds.
Lossy vs lossless compression, explained simply
You'll see these two terms everywhere, so here's the short version.
Lossy compression makes the file smaller by permanently throwing away some image data, mostly details your eyes are unlikely to notice. JPG is the classic example. Done well, the picture looks the same to you but the file can be much smaller. Push it too far and you start to see blocky patches and fuzzy edges around text.
Lossless compression shrinks the file without discarding any visual information. When you open the image, every pixel is exactly as it was. PNG works this way. The trade-off is that lossless files are usually larger, and there's a limit to how small they can get.
Neither is "better". Photos usually work well with lossy compression, while logos, screenshots and graphics with sharp lines and text often look best as lossless PNG files.
Choosing the right image format
Compression gets much easier when you start with the right format.
JPG is the everyday choice for photographs. It's small, it opens on every device, and it handles gradients and colors well. It doesn't support transparency.
PNG is ideal for logos, icons, screenshots and anything that needs a transparent background. A PNG photograph, however, can be several times larger than the same picture saved as a JPG. If you have a big PNG photo that doesn't need transparency, converting it to JPG is one of the quickest ways to cut its size.
WebP is a modern format that usually produces smaller files than JPG or PNG at similar quality, and it supports transparency too. Google's own tools recommend it for websites, and all major browsers support it today.
GIF is meant for simple animations with limited colors. GIFs can get large fast, so they're worth compressing if you use them.
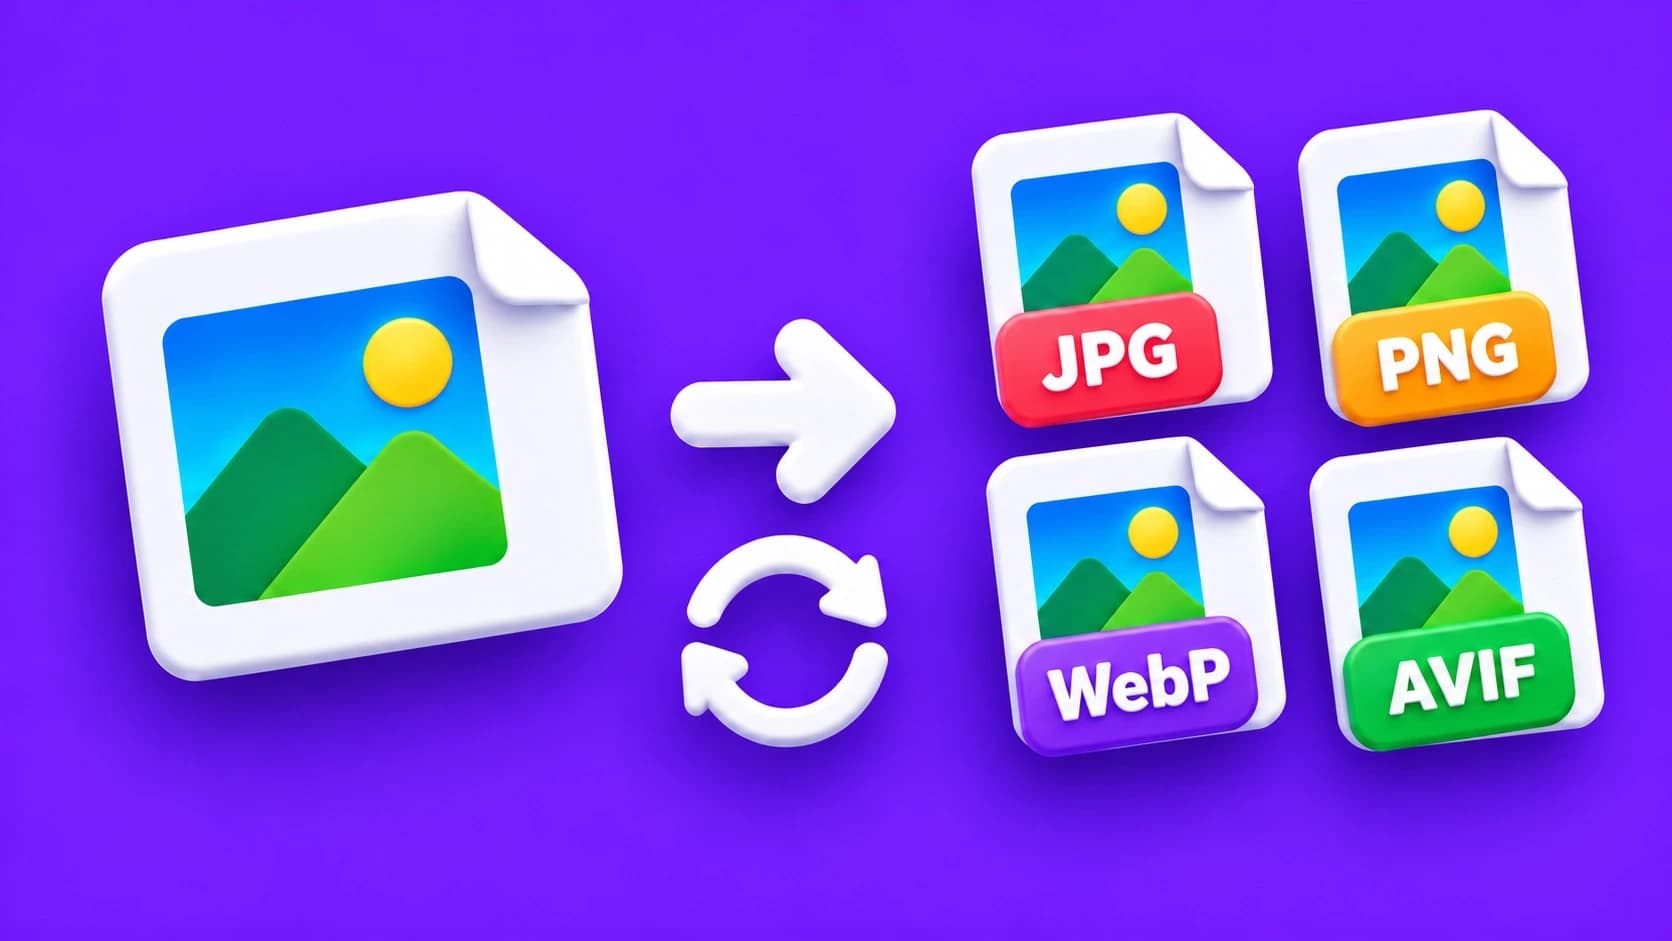
If you want to switch formats before or after compressing, you can use the Image Converter.
How to compress an image online (step by step)
Here's how it works with the ilovetoolbox Compress Image tool. It takes less than a minute.
- 1.Open the tool. Go to the Compress Image page.
- 2.Add your images. Click "Browse files" or drag and drop. You can add one image or several at once. JPG, PNG, WebP, HEIC and more are accepted.
- 3.Let it process. The tool reduces the file size while keeping the picture looking good.
- 4.Check the result. Compare the new size with the original. Zoom in a little to make sure the quality still suits your purpose.
- 5.Download. Save the compressed image to your device and use it wherever you need.
It's free, there's no watermark, and it works in the browser on your phone, tablet or computer. [privacy policy]
Practical tips to get the smallest file with the best quality
After working with images for a while, a few habits make the biggest difference.
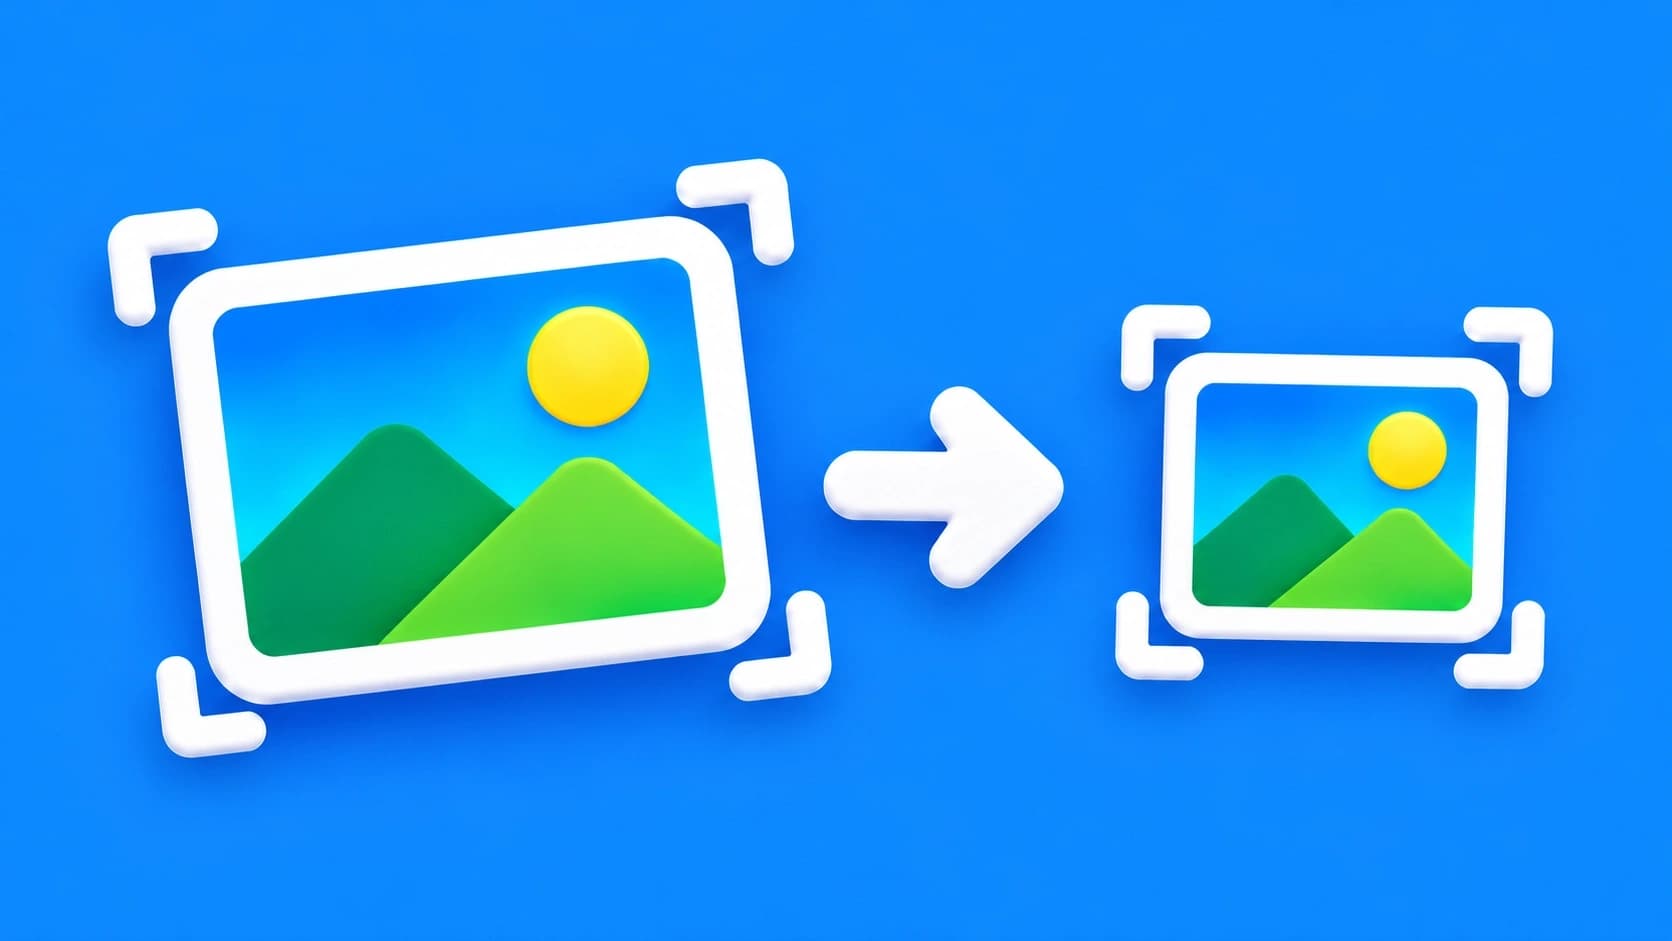
Resize before you compress. This is the most overlooked trick. If your photo is 4000 pixels wide but will be displayed at 800 pixels, those extra pixels are wasted. Shrinking the dimensions first with the Resize Image tool and then compressing gives a much smaller file than compression alone.
Always keep your original. Compression is not reversible, especially lossy compression. Save the compressed version as a copy so you can go back if you need a higher-quality version later.
Don't compress the same image again and again. Every round of lossy compression removes a little more detail. If you need a different size, go back to the original instead of compressing the compressed file.
Match the format to the content. Photos as JPG or WebP, logos and screenshots as PNG. Using the wrong format is often the real reason a file is big.
Remove hidden metadata when privacy matters. Photos from phones can carry location data and camera details. The Metadata Remover strips that information before you share a picture publicly.
Test on the real screen. Quality is relative. An image that looks perfect on a phone may show flaws when stretched across a large desktop banner. Check it where it will actually be used.
Compressing images for common situations
Different goals call for slightly different choices.
For websites and blogs. Aim for the smallest file that still looks crisp at the size you display it. Resize to the real display width, use WebP or JPG for photos, and compress. This single step can noticeably improve how fast your pages feel.
For email. Attachment limits are common (Gmail, for example, caps a message at 25 MB), and large attachments are also slow to open on the other side. Compress photos before sending and your email goes through faster.
For online forms and job applications. Many portals ask for photos or scans under a few hundred KB. Resize the image to a sensible dimension, compress it, and if it's still too large, try saving it as JPG. If the form asks for a specific format, convert it first and compress after.
For social media and messaging. Apps compress your images automatically, often more than you'd like. Uploading an already well-optimized image gives you more control over how it ends up looking.
For online stores. Product pages with many photos can get heavy quickly. Compressed images keep the page fast on mobile, where most shoppers browse.
Common mistakes to avoid
- Over-compressing. Chasing the tiniest possible file can leave visible blur and artifacts. Slightly bigger and clean beats tiny and ugly.
- Using PNG for photos. It's the most common reason images are bigger than they need to be.
- Uploading full-size camera photos directly to a website. Always resize and compress first.
- Forgetting about mobile. More than half of web traffic comes from phones, often on slower connections, so test your pages on mobile.
- Deleting the original. You'll regret it the day you need a high-quality print or a larger banner.
Final thoughts
Compressing images doesn't have to be technical. Choose the right format, resize to the size you actually need, compress, and check the result with your own eyes. Do that consistently and your websites will load faster, your uploads will stop failing, and your storage will last longer.
Ready to try it? Open the free Compress Image tool, drop in your pictures, and see how much space you can save in a few seconds.
Frequently asked questions
Yes. It's completely free with no sign-up and no watermark. You can compress as many images as you need right from your browser.
The tool shrinks the file size while keeping the image looking sharp on screen. For best results resize the image first and don't compress the same file again and again. Always keep a copy of your original.
JPG, PNG, WebP, HEIC and more are supported. If you need a different format, you can switch it first with the Image Converter.
Yes. The tool works in any modern browser on your phone, tablet or computer. Nothing to install, just open the page and upload.
For websites, resize to the actual display width, then compress. For forms and job portals that ask for a few hundred KB, resize first, compress, and if it's still too big, save it as JPG.